

Really, I could wait until the OTA rolls around, but I'd rather do it now. And it's not all that hard. So if you're running stock on your Nexus and hate waiting, follow along. (time elapsed ~20 minutes, and I took my time to make sure I had the right commands)
Step 1 - get the Android SDK installed
fairly simple, just head on over to https://developer.android.com/sdk/installing/index.html and follow the instructions. Remember where you put all the files because we'll be going there soon. For me I installed them in a C:\AndroidSDK folder... the files we'll be playing with are located in the 'adt-bundle-windows-x86_64\sdk\platform-tools' folder
Step 2 - download your factory image
Jump on over to https://developers.google.com/android/nexus/images and download your version of choice. For me, it's the "occam" as I'm running a Nexus 4. Click the link for the 4.4.3 update and you'll get a file named 'occam-ktu84l-factory-0d3fd624.tgz' (you may want to save it to the same folder that the SDK/platform-tools are in)

Right click on the .tgz file you downloaded and 'extract to' (you may need to use a program like 7-zip)... easiest to extract to its own folder as there'll be a few files. First will be a .tar file, and you'll need to 'extract' that one too. That will be a folder and then in there are a few files. One of them is a file called 'image-occam-ktu84l.zip'; yup, extract that too.
Now all the files are there that we need. Note, we could just load up and run it but part of the .bat file is that it'll wipe your device. We don't want to do that, so it just looks like we're taking the long route.
Place these files into the same folder as the 'adb' commands as I mentioned in step one (note, if you've done this before you may have to overwrite some files
Step 4 - fire off the adb cannons
Okay, now we connect the phone (you should make sure ADB debugging is on... if you're not sure, just hit me up and I'll show you how - then make sure your computer is 'trusted' -- it's easier than it sounds).
From the folder with the adb hold SHIFT and Right+Click to bring up the 'open command window here' option and that way you can get the 'dos prompt' window.
You're going to type these commands:
 (note these are the files for my Nexus 4... your names would vary accordingly)
(tip: for those long files just start typing the first bit and hit 'tab' to autocomplete)
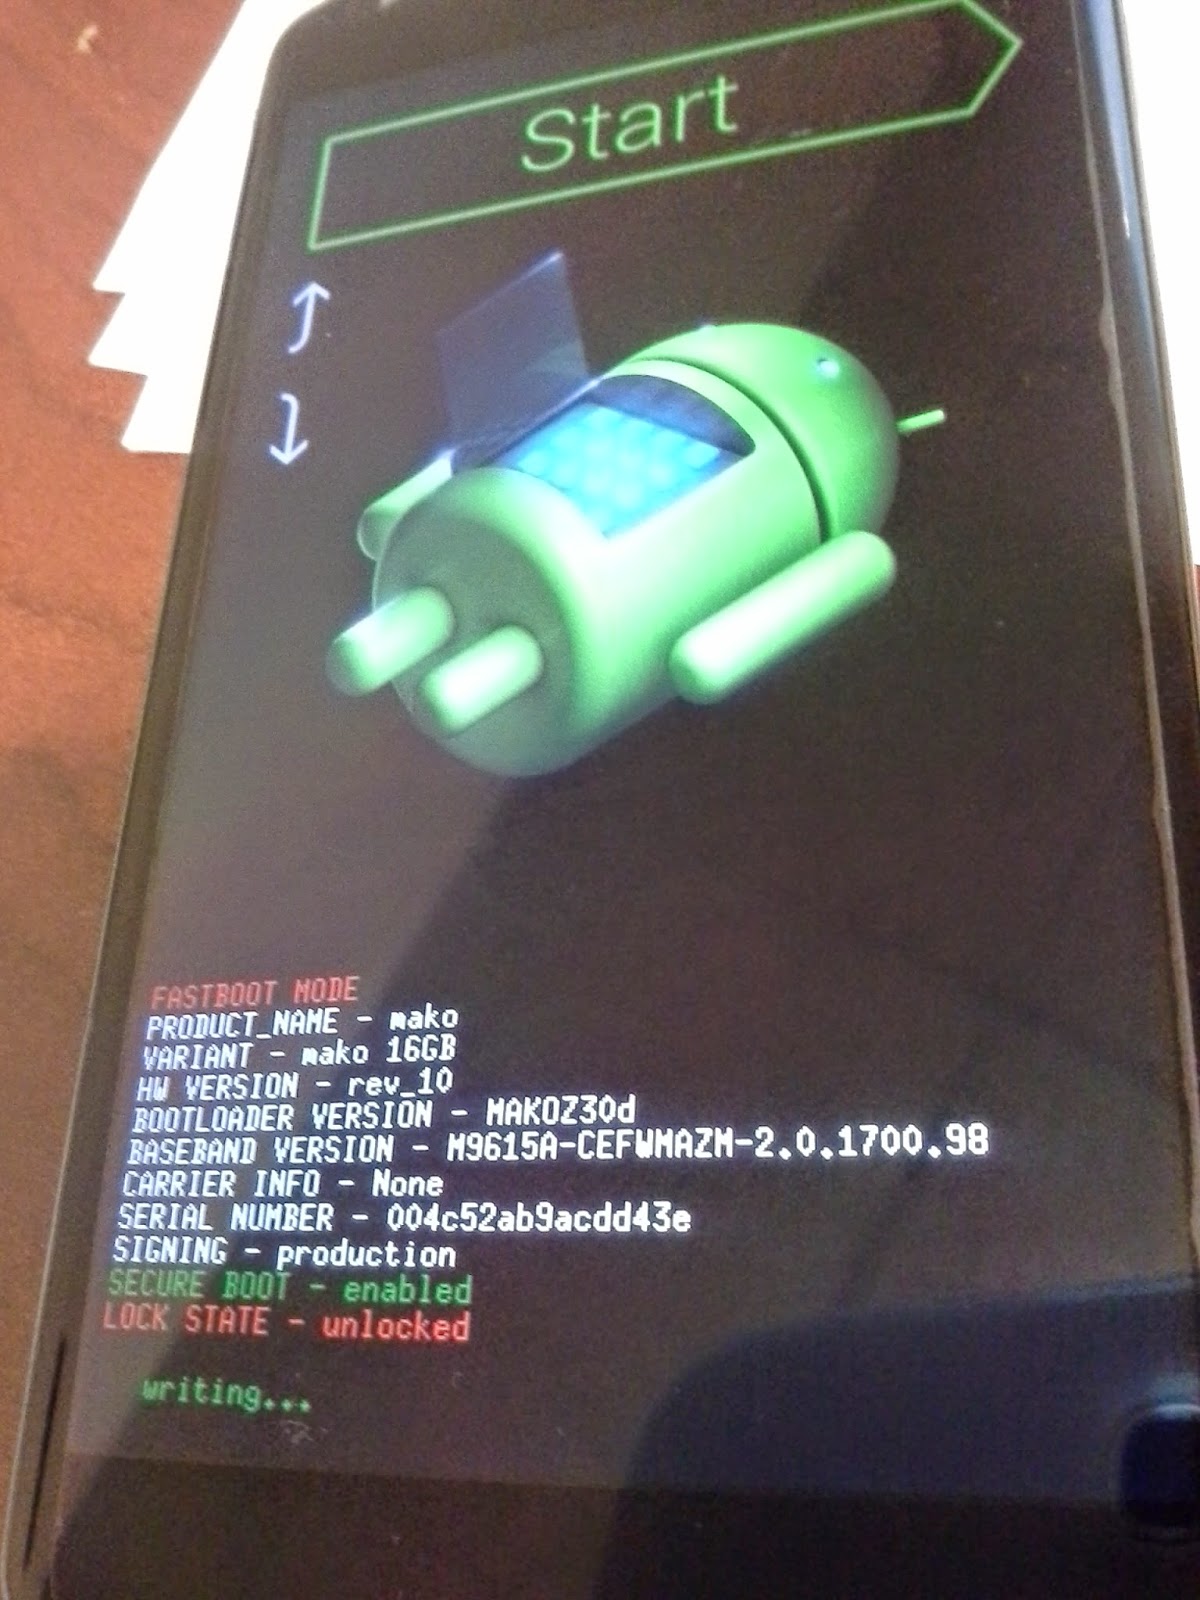
- adb reboot bootloader
- fastboot flash bootloader bootloader-mako-makoz30d.img
- fastboot reboot-bootloader
- fastboot flash radio radio-mako-m9615a-cefwmazm-2.0.1701.02.img
- fastboot reboot-bootloader
- fastboot flash system system.img
- fastboot flash boot boot.img
- fastboot format cache
- fastboot reboot
(1 - puts phone into part of memory where it can upload things, 2 - uploads latest version of bootloader, 3 - reboots the bootloader, 4 - uploads latest radio file, 5 - reboots bootloader, 6 - uploads new system image file, 7 - uploads new boot image file, 8 - cleans up the cache, 9 - reboots phone)
That should be it... you'll have 4.4.3 on your phone. It may take a while to reboot. It has a lot to 'reconfigure'.
Only thing now is that it no longer has root or a custom recovery. Follow along if you want to place one of those on as well:
(optional) Step 5 - install custom recovery
Go and download your custom recovery of choice. I like clockworkmod ... but you could use any you like. Now, to save a step you may also want to download a Superuser file as well (I like +Chainfire's http://download.chainfire.eu/446/SuperSU/UPDATE-SuperSU-v1.99r3.zip.
Download the file (in my case it's name is recovery-clockwork-touch-6.0.4.7.img yours will vary with the model of your phone and version) and place it in the same adb folder as in step 1.
To install it bring up the command line again (see step 4) and type in:
- adb reboot bootloader
- fastboot flash recovery recovery-clockwork-touch-6.0.4.7.img
- fastboot reboot-bootloader
 (optional) Step 6 - install Superuser
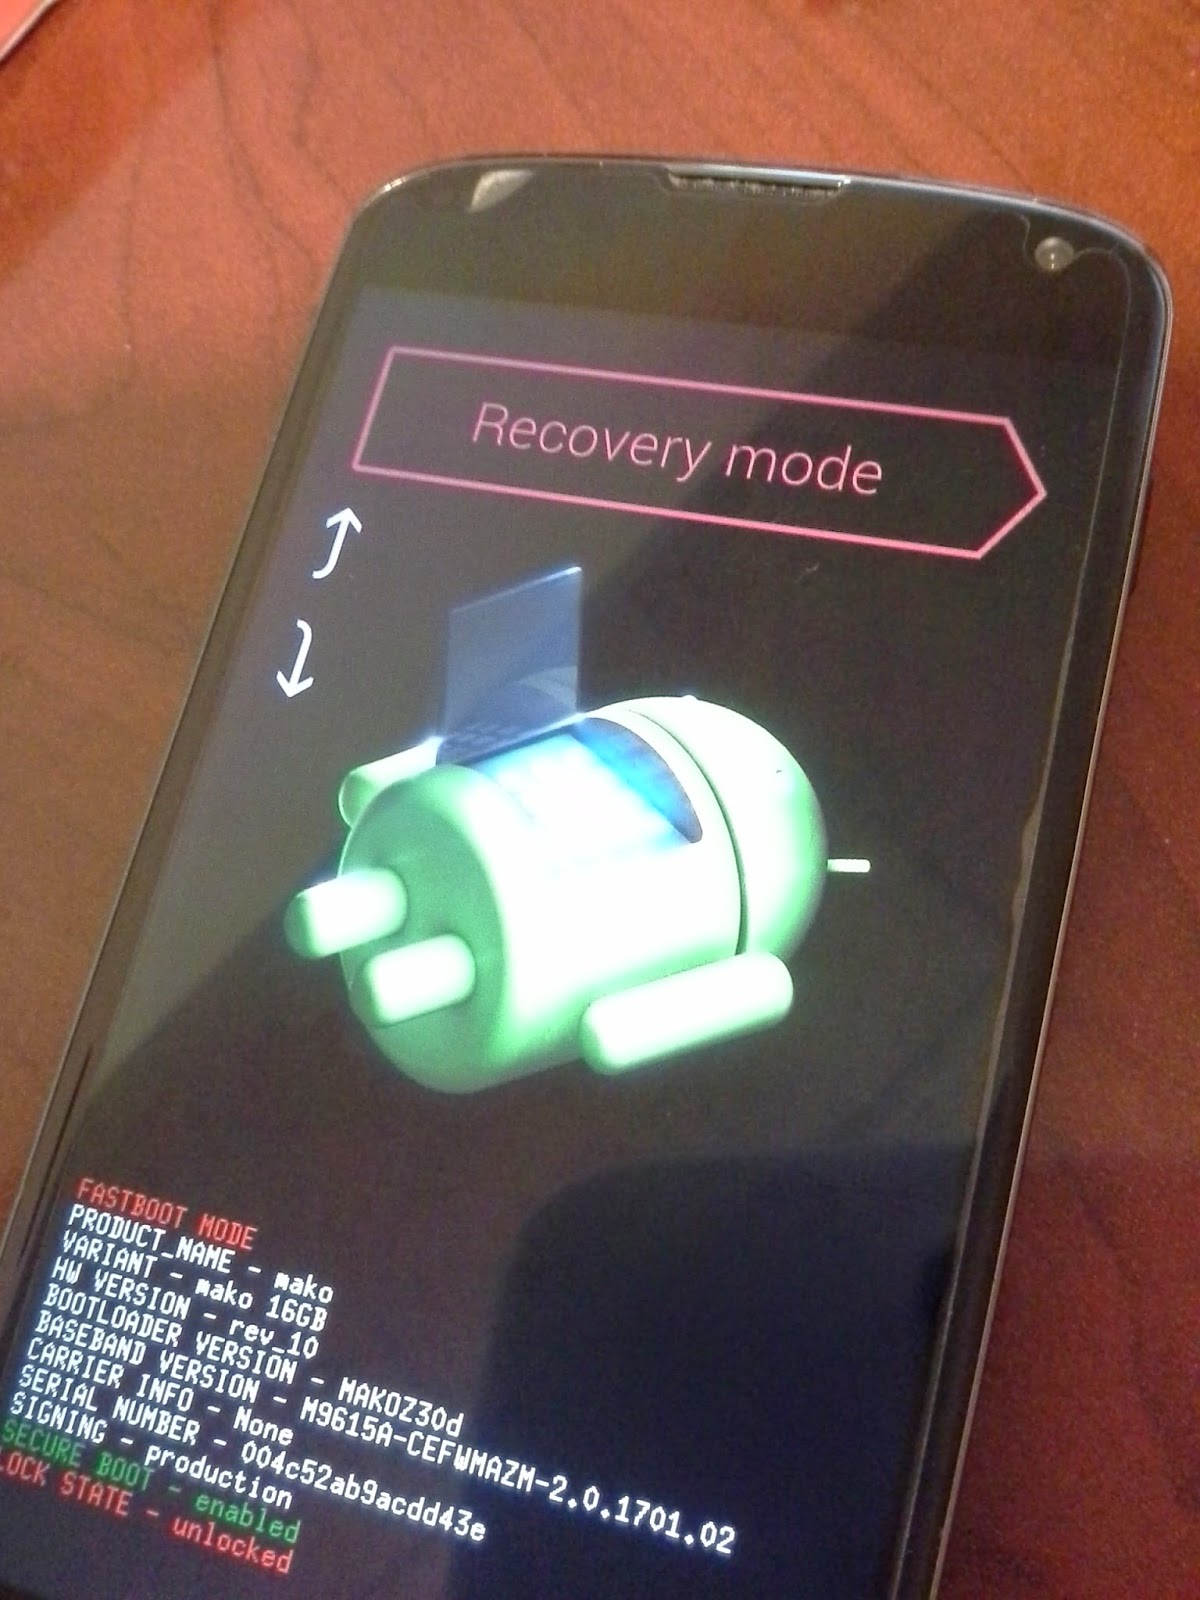
You should be back in the bootloader, from here you can use your volume keys to change to 'recovery mode' then hit the power button to load it up.
From the recovery you'll have to adb sideload the SuperSU file by choosing from the recovery options to 'install zip' (use volume keys to move and then power to select... or if you flashed the touch version like i did, just tap).


Go back to the command prompt and type in
- adb sideload UPDATE-SuperSU-v1.99r3.zip
Then you can 'go back' and then 'reboot system now'.
There you have it. Latest 4.4.3 on your Nexus AND you're rooted again.
Enjoy.
If I missed a step ... please let me know.
Comments
Post a Comment